 Table of Contents
  Previous Section

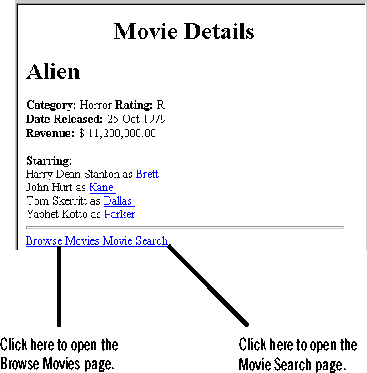
The MovieDetails page uses a WODisplayGroup object to display movie information in the same way that the Main and MovieSearch pages do. In the MovieDetails page, however, the display group manages exactly one record: the selected movie. In the other pages, the display group manages a set of many records.
The Database Wizard doesn't provide a layout option that resembles the user interface of the MovieDetails page, so in this section you'll perform by hand the tasks the Database Wizard performed to create the other two pages. You'll learn how to create a WODisplayGroup variable and how to bind it to dynamic elements. In the sections following this one, you'll extend the MovieDetails page to display movie roles and the starring actors.
An empty model opens.
For Mach Users Only: On Mach systems, the EOModeler application is in /NextDeveloper/Apps.
 Open.
Open.
After your model file opens, you can close the empty model.
For Mach Users Only: To open the model file, bring the Workspace File Viewer to the front. Navigate to your Movies.woa application directory, and choose File  Open as Folder. The Workspace opens a new viewer window that's focused on the contents of the Movies.woa directory. Double-click the model file package to open it in EOModeler.
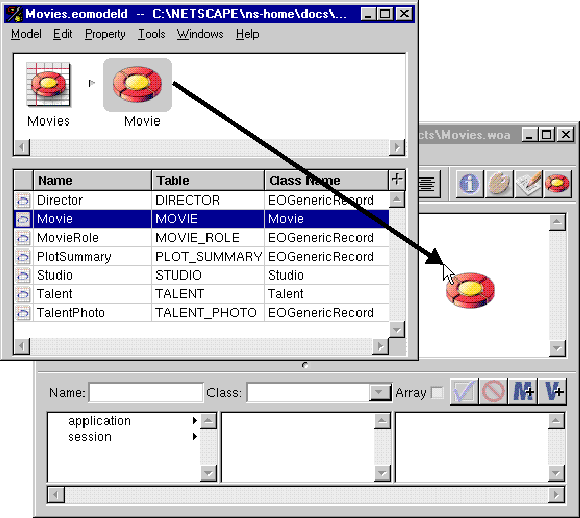

The script window is empty except for the following line of code, which declares the component's display group:
id movies;
	- setMovie:aMovie {
		if (aMovie)
			[movies setObjectArray:[NSArray arrayWithObject:aMovie]];
		else
			[movies setObjectArray:nil];
		[movies selectObject:aMovie];
	}
A WODisplayGroup stores the set of objects fetched from the database in its object array. Usually, the display group itself fetches the objects from the database. This is what happens with the display groups in the Main page and the MovieSearch page. The MovieDetails page displays information about only one object, which has already been fetched by the display group from the previous page. So setMovie: sets the object array to an array containing the single object aMovie.
Display groups also keep track of a selection. Generally, a WODisplayGroup's selection is maintained programmatically. In this case, the setMovie: method sets the movies display group's selection to aMovie.
When you created the Main page, the Database Wizard set up the selection management for you. It defined a method selectObject in Main's script that is invoked whenever one of the hyperlinks is clicked. selectObject sets the movies display group's selected object to the movie whose title is displayed by that hyperlink.

	- showDetailsForMovie {
		id detailsPage = [[self application]
			pageWithName:@"MovieDetails"];
		[detailsPage setMovie:[movies selectedObject]];
		return detailsPage;
	}
This method creates the MovieDetails page and then invoke's its setMovie: method with the movie that's selected in the Main page. The display group method selectedObject returns its selected object, which, in the Main component, is set when a user clicks a movie title hyperlink.
The MovieDetails page shows the title of the movie in a heading immediately below the main heading. In the next several steps, you'll create that movie title heading.
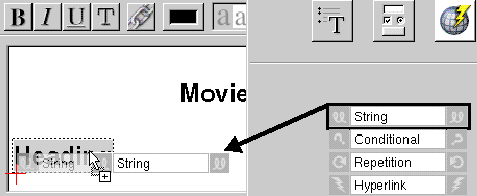
The string element is now inside the heading element. As a result, the string's value is formatted as a heading element. In the next task, you'll bind the selected movie's title to this heading string.
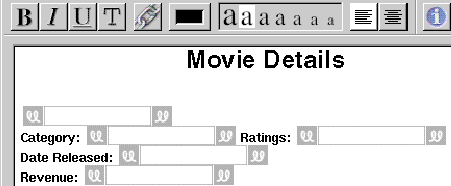
 title in the component window's object browser.
The attributes shown in the object browser for the movies display group are actually attributes of Movie objects (the object that the display group manages) rather than attributes of the display group itself. These attributes are provided as a convenience; they correspond to the display group's selected object. Recall that the setMovie: method sets movies' selected object to the movie selected on the previous page.
Double-clicking movies  title binds the title of movies' selected object to the heading string's value attribute. The string displays the text "movies.selectedObject.title" to indicate what it is bound to.
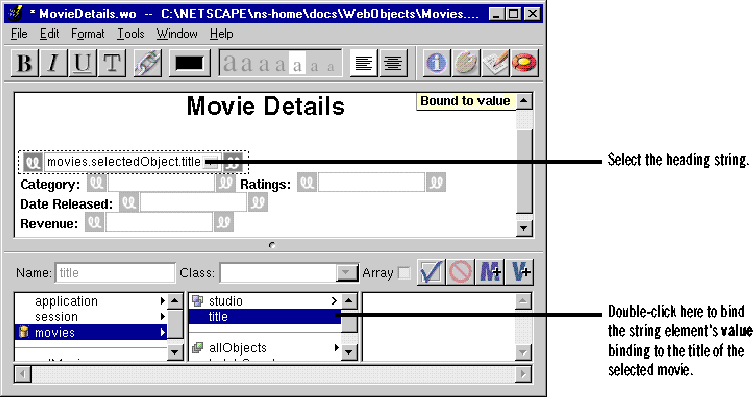
 Table of Contents
  Next Section