Using Fix and Continue
Fix and Continue makes it possible to modify an executable image at debug time. You can see the results of your modification without interrupting or restarting the debugging session.
This feature is especially useful when it takes a lot of time to reach a particular state of execution while debugging your application. Rather than recompiling your project and starting a new debugging session, you can make minor changes to your code, fix your executable image, and see the results of your changes immediately. For detailed information on Fix and Continue, see Modifying Running Code in Xcode Debugging Guide.
This tutorial uses a sample project named Sketch, which implements a simple drawing program built using the Cocoa framework. You’re going to change the way Sketch draws shapes by changing the source code and using the Fix command in Xcode to patch the running program.
You don’t need to be familiar with Objective-C to work through this tutorial.
In this section:
Configuring the Project
Patching the Running Application
Summary
Configuring the Project
To configure the Sketch project to use the Fix command:
Make a copy of the Sketch project, which is located in
/Developer/Examples/AppKit. To avoid confusion, place your copy somewhere inside your home directory.In the Finder, drag your copy of the Sketch project folder onto the Xcode icon in the Dock. Notice that Xcode finds and opens the project file inside this folder.
Make sure the active build configuration is Debug. From the Project menu, choose Set Active Build Configuration > Debug.
From the Build menu, choose Build (Command-B) to build the target.
Patching the Running Application
To start a debugging session, choose Run > Debug (Option–Command-Y).
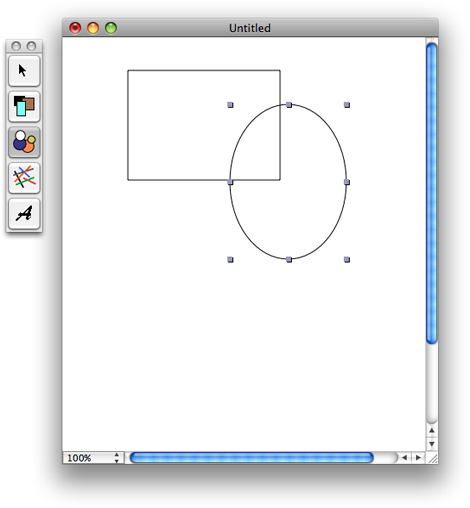
Click in the Sketch drawing window, select a drawing tool (rectangle or circle), and draw a few objects.
Return to the project window and select the Sketch group.
Open the source file named
SKTGraphic.m.In the source editor, locate the
-initmethod. It looks something like this:- (id)init {self = [super init];
if (self) {_bounds = NSZeroRect;
_isDrawingFill = NO;
_fillColor = [[NSColor whiteColor] retain];
_isDrawingStroke = YES;
_strokeColor = [[NSColor blackColor] retain];
_strokeWidth = 1.0f;
}
return self;
}
Change some of the values.
For example, change the following lines:
_isDrawingFill = NO;
_fillColor = [[NSColor whiteColor] retain];
_strokeWidth = 1.0f;
to:
_isDrawingFill = YES;
_fillColor = [[NSColor yellowColor] retain];
_strokeWidth = 8.0f;
Save your changes.
Choose Run > Fix to modify the running program.
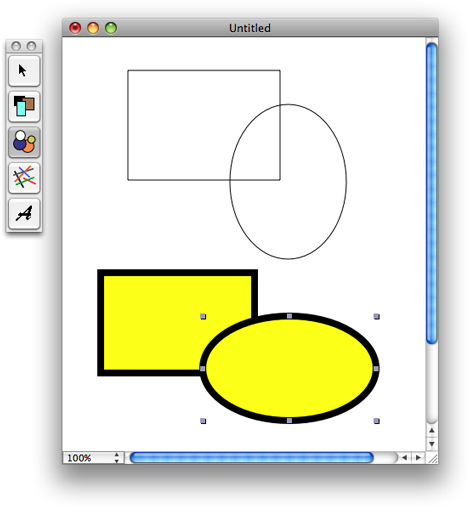
Return to the Sketch drawing window and draw some more objects.
You should see a dramatic change in the appearance of these new objects, as illustrated in Figure 4-2.
Summary
This tutorial showed how to use Fix and Continue to patch changes into a running application.
© 2003, 2008 Apple Inc. All Rights Reserved. (Last updated: 2008-10-15)